Building a Firewood Shed: Storing Firewood the Right Way
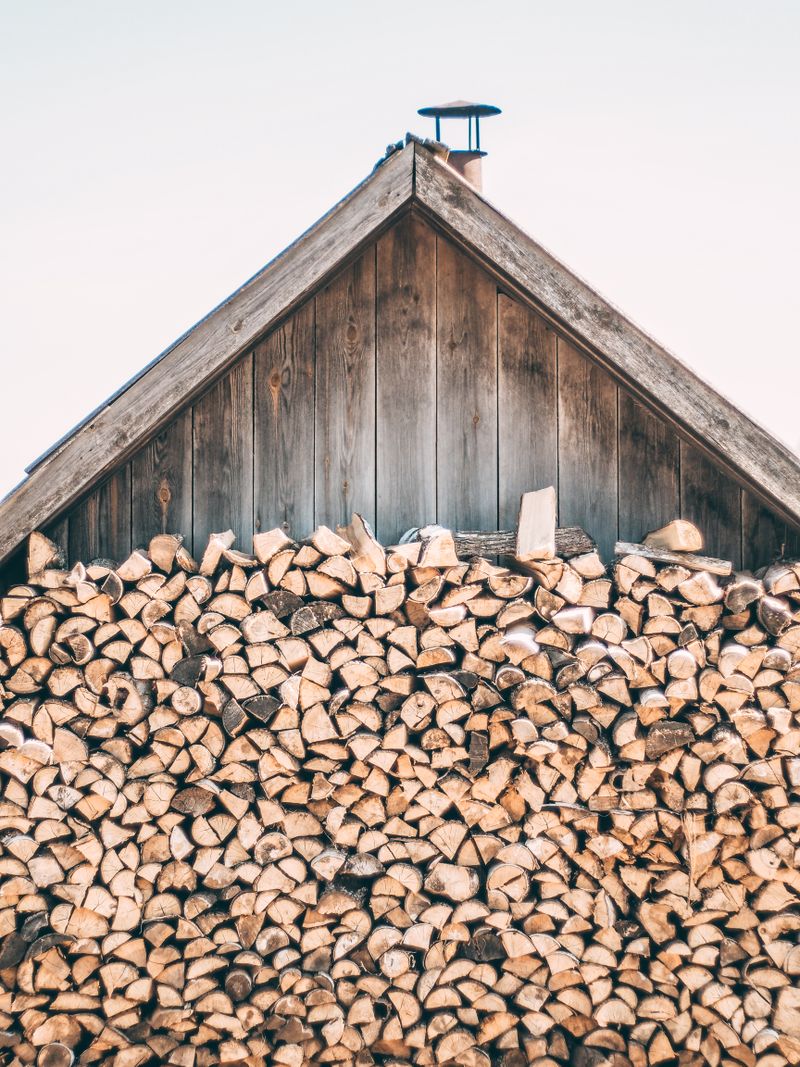
Well-stored firewood is essential for an efficient fire. Wood that's stored incorrectly absorbs moisture, burns poorly and produces a lot of soot. A simple woodshed solves the problem – and can be built even without craft experience.
Why Proper Storage Matters So Much
Freshly cut wood has a moisture content of 40–60%. For your stove you need under 20% (ideally 15%). For that, the wood needs to dry for 1–2 years – and that only works if:
- It's protected from rain from above
- Air can circulate from all sides
- It's not lying directly on the ground
Planning
Rule of thumb for size: One cubic meter of stacked volume corresponds to approx. 0.7 solid cubic meters (Festmeter) of wood. For a 5 solid-cubic-meter supply, you need a stacking area of approx. 7–8 m².
Location:
- Sunny and windy – south-facing is ideal for fast drying
- Not directly against the house wall – keep at least 30 cm distance (moisture, pests)
- Ground covering of gravel or paving stones (not bare soil)
Materials
For a simple shed (~3 m × 1.5 m):
- 6 wooden posts, 10 × 10 cm, 2.20 m long
- Cross beams for the roof: 4 × squared timber 8 × 8 cm
- Roofing: corrugated metal (cheapest) or roofing felt on wood panels
- Base sills: 2–3 squared timbers laid crosswise as a base
- Screws, brackets, joist hangers
Total cost: approx. €150–300 depending on size and material
Setup Step by Step
- Prepare the ground – mark out the area, dig 15 cm deep, fill with gravel and compact
- Lay the base sills – 3 squared timbers laid crosswise along the length, so the wood doesn't sit directly on the ground
- Erect the posts – set joist hangers into the gravel or use ground sleeves, insert posts and align with a spirit level
- Build the roof frame – cross beams on the posts, rear posts 20–30 cm shorter than the front ones (slope for rain runoff)
- Add the roof – lay corrugated metal from bottom to top, secure with screws, at least 20 cm roof overhang
- Side panels – optional: back wall made of vertical slats with small gaps (keeps air circulation)
Stacking Wood Correctly
- Stack wood crosswise to the wind direction – air needs to be able to pass through
- Alternate stacking every 2 m – increases stability
- The cut ends face outward – wood dries fastest through the end grain. On the top layer, lay the bark side up so water runs off
- Stack no higher than 1.20 m to prevent tipping
- Cover with tarp on the end faces in autumn – prevents re-wetting
Speeding Up Drying Time
- Split and stack wood in March/April – makes full use of summer
- Hardwood (beech, oak, ash) needs 2 years; softwood (pine, spruce) needs just 1 year
- Check with a moisture meter (from €15): under 20% = ready to burn