Building Your Own Greenhouse: Planning, Foundation & Construction
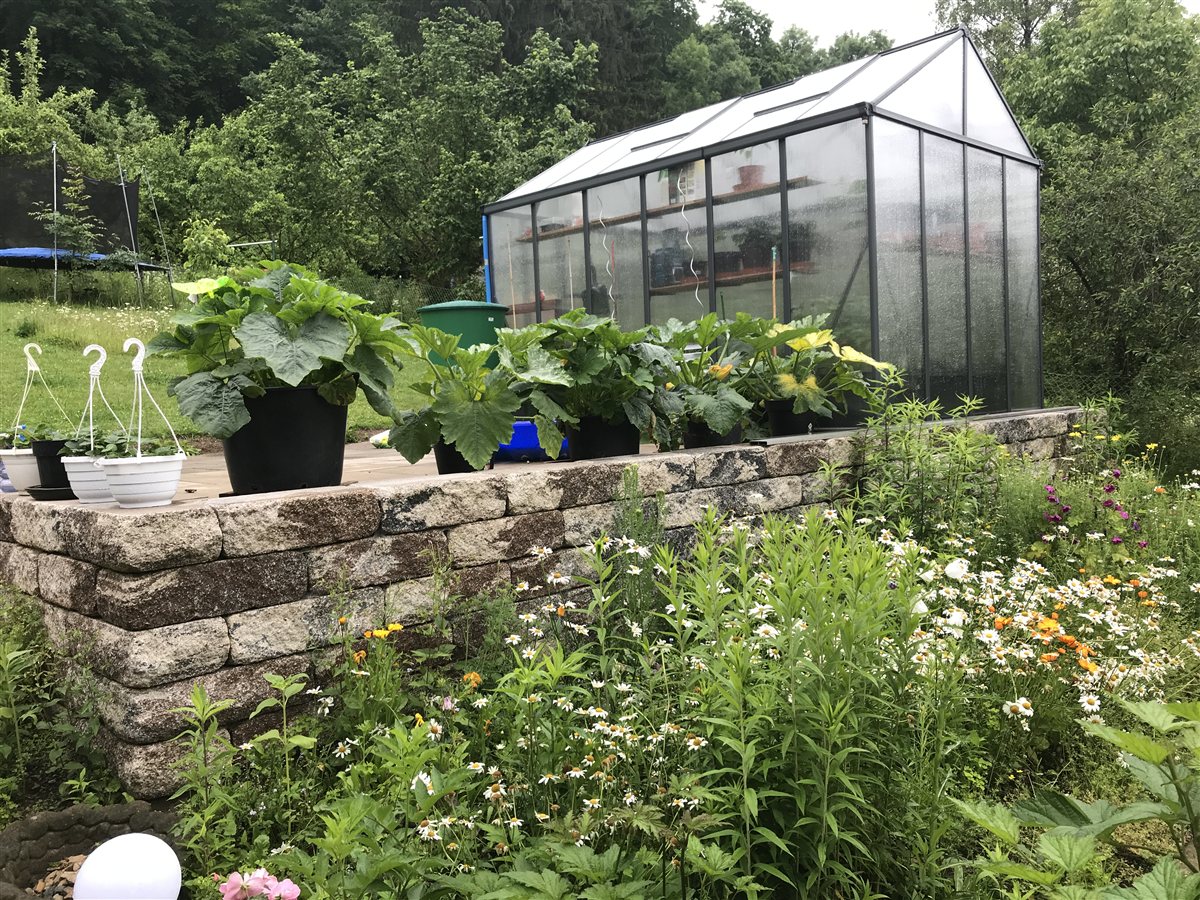
Your own greenhouse extends the growing season by weeks, protects sensitive plants from frost and moisture, and allows you to raise heat-loving crops like tomatoes, peppers and cucumbers. With the right planning, it's manageable even for beginners.
Which Greenhouse Suits You?
By Material
- Aluminum greenhouse – lightweight, rust-free, affordable (from €300), good kits available
- Wooden greenhouse – visually appealing, good insulation, needs regular maintenance
- Polytunnel – cheapest option (from €50), not permanent, ideal for beginners
By Glazing
- Single glass – cheap, high light transmission, risk of breakage
- Twin-wall polycarbonate sheets – shatterproof, good insulation, slightly yellowish, ideal for beginners
- Toughened glass (tempered safety glass) – expensive, but durable and clear
Choosing a Location
- South-facing – at least 6 hours of sun daily
- Wind protection at the back (hedge, fence, house wall) – but without casting shade
- Water connection nearby
- Level ground – or plan for terracing
- Minimum distance to property lines: 1–3 m depending on the state (check with the building authority)
Foundation – The Decisive Base
Point Foundation (Simple)
For smaller greenhouses up to ~15 m². Concrete posts or ground sleeves set in concrete at the corners and midpoints. Affordable and sufficiently stable.
Strip Foundation (Solid)
Continuous concrete foundation (~20 cm deep, 20 cm wide). For large greenhouses or soft ground. Durable and frost-proof.
No Foundation
Only suitable for temporary polytunnels. Ground screws or earth anchors are sufficient.
Setup Step by Step
- Mark out and level the area – set up string lines, remove/add soil until everything is level
- Set the foundation – dig holes, set sleeves/posts in concrete, let cure (at least 3 days)
- Erect the frame – kits usually come with instructions; align corners exactly at 90°
- Assemble the roof structure – attach rafters and ridge, check roof pitch (30–35° optimal)
- Install the glazing – fit panels from bottom to top, secure with clips or rubber profiles
- Door and vent windows – plan for at least one roof window for natural convection
Interior Fittings
- Raised beds or beds directly in the ground – refresh soil with compost
- Shelving for seedling pots – wire shelving along the walls
- Irrigation system – drip irrigation with a timer saves time daily
- Thermometer/hygrometer – min-max thermometer to track extremes
Ventilation and Temperature Control
In summer, the greenhouse can reach 60°C+. This kills plants quickly:
- Roof windows that open automatically via a thermostat opener (from €15)
- Shade netting on the south side during strong sunlight
- Supplemental heating in spring: a small electric heater is enough for frost-free nights – only devices suitable for damp rooms; according to the VDE, outdoors only operate them via a residual current device (RCD), and extension cables must be suitable for outdoor use (IP44)
Permits
Whether a greenhouse is permit-free is regulated differently by each state building code – often by enclosed volume rather than floor area, and more strictly outside built-up areas. So check with the local building authority before building, especially near property boundaries.
Sources
- VDE Association for Electrical, Electronic & Information Technologies: Gartengeräte sicher nutzen, accessed 5 Oct 2026
The sources support individual statements in this article. The organisations named have neither reviewed nor endorsed it.