Your First Sourdough Bread
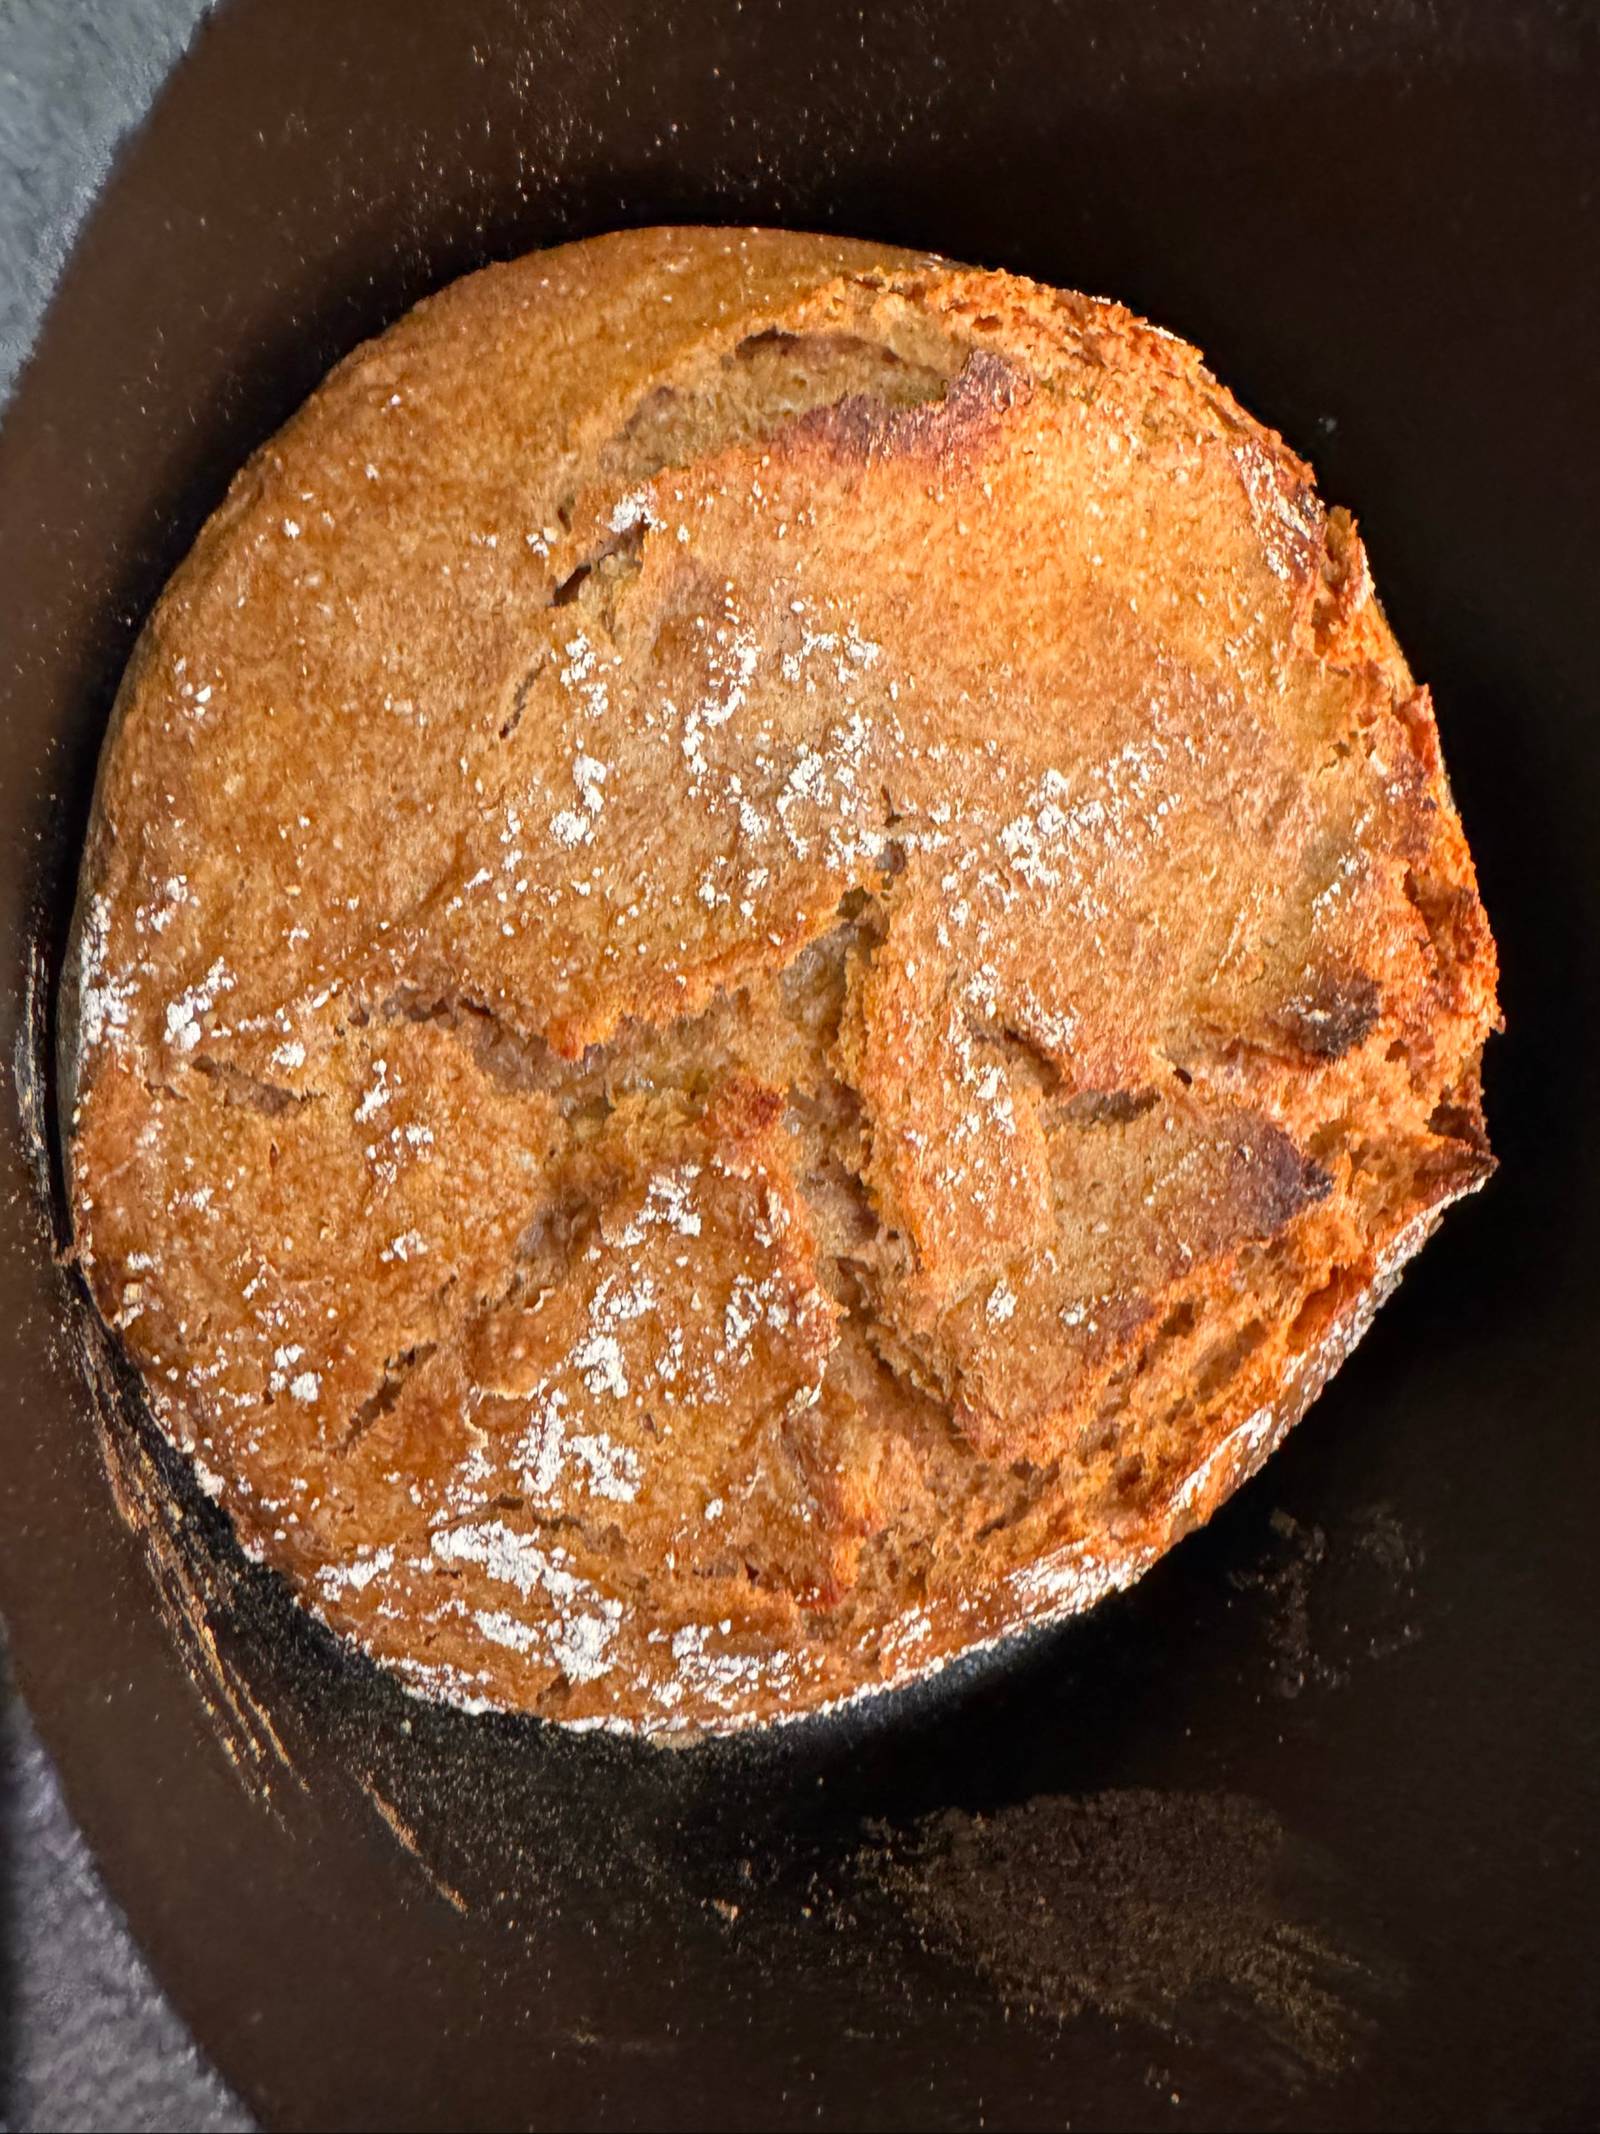
A tried-and-tested basic recipe for a 70/30 rye-wheat mixed loaf – sturdy, flavorful, and ideal for beginners. This bread forgives mistakes, doesn't need any special technique, and tastes good even on your first attempt. After baking it two or three times, you'll develop a feel for your starter and your kitchen.
What You Need
Equipment
- Large bowl or mixing bowl
- Cast iron pot (Dutch oven, at least 24 cm Ø) or loaf pan
- Proofing basket (optional, but helpful for the shape)
- Dough scraper (or a knife)
- Oven thermometer (recommended)
Ingredients for 1 loaf (about 900 g)
Sourdough (start the evening before):
- 50 g active starter (rye)
- 100 g rye flour, type 1150
- 100 g water (about 30 °C)
Main dough:
- The entire sourdough (250 g)
- 200 g rye flour, type 1150
- 150 g wheat flour, type 550
- 200–220 g water (lukewarm)
- 10 g salt
Step 1: Building the Sourdough (the Evening Before)
Mix the starter, rye flour, and water in a jar. Stir well, cover (not airtight), and let it ripen at room temperature for 8–12 hours.
Ready when: The sourdough has at least doubled, smells pleasantly sour (not too sharp), and shows bubbles on the surface. Float test: drop a teaspoonful into a glass of water – does it float? Then the sourdough is active enough.
Step 2: Mixing the Main Dough
- Mix the sourdough, flour blend, 200 g water, and salt in a bowl
- Combine roughly with a spoon or your hand – rye dough is very sticky, that's normal
- Add another 10–20 g water if the dough feels very stiff
- No long kneading needed – rye dough doesn't form a gluten network like wheat dough. 2–3 minutes of stirring is enough.
Dough temperature: ideally 26–28 °C. Warmer water or a warmer room speeds up fermentation.
Step 3: Bulk Fermentation (First Rise)
Let the dough rise, covered, at room temperature (22–26 °C) for 2–3 hours.
How do you spot progress? The dough grows slightly (30–50%), and the first small bubbles appear on the surface.
Step 4: Shaping and Final Proof
- Flour the work surface or proofing basket well with rye flour
- Take the dough out of the bowl with dampened hands
- In the proofing basket: shape the dough round and place it seam-side down, dust it, cover it
- In the loaf pan: grease and flour the pan, add the dough
- Final proof: 1–2 hours at room temperature or 8–14 hours in the fridge
The fridge trick: proofing overnight in the fridge fits wonderfully into everyday life and gives the bread more flavor.
Step 5: Baking
With a Dutch Oven (recommended)
- Put the Dutch oven (pot with lid) in the oven and preheat to 250 °C top/bottom heat – at least 45 minutes
- Carefully turn the dough out of the basket into the hot pot (use oven mitts!)
- Don't score rye dough – it tears open on its own in a controlled way
- Put the lid on the pot, put the pot in the oven
- Bake 20 minutes with the lid on at 250 °C
- Remove the lid, reduce to 210 °C
- Bake for another 30–35 minutes until the crust is dark brown
With a Loaf Pan
- Preheat the oven to 250 °C
- Place the loaf pan inside, add a bit of steam to the oven (a cup of hot water on the oven floor)
- 10 minutes at 250 °C, then reduce to 210 °C
- Bake for another 40–45 minutes
Step 6: Cooling – Please Wait!
This is the hardest step: the bread needs at least 2–3 hours to cool. If you cut into it too early, you'll get a gummy, wet crumb.
Knock test: Tap the bottom of the finished loaf – a hollow sound means it's done.
Troubleshooting
Too flat, barely any oven spring → Sourdough wasn't active enough → let it ripen longer or use more starter
Too sour → Proofed too long or too warm → shorten the cold final proof
Not sour enough → Proof too short, temperature too cool → raise the room temperature or proof longer
Crumb is gummy after cutting → Cut too early → wait! At least 2 hours after baking
Conclusion
This rye-wheat mixed loaf is the ideal first sourdough bread. It's forgiving to handle, doesn't need perfect technique, and gives you a feel for what an active starter looks and smells like. Bake it two or three times – then it becomes second nature.