Dehydrating for Beginners: Oven or Dehydrator?
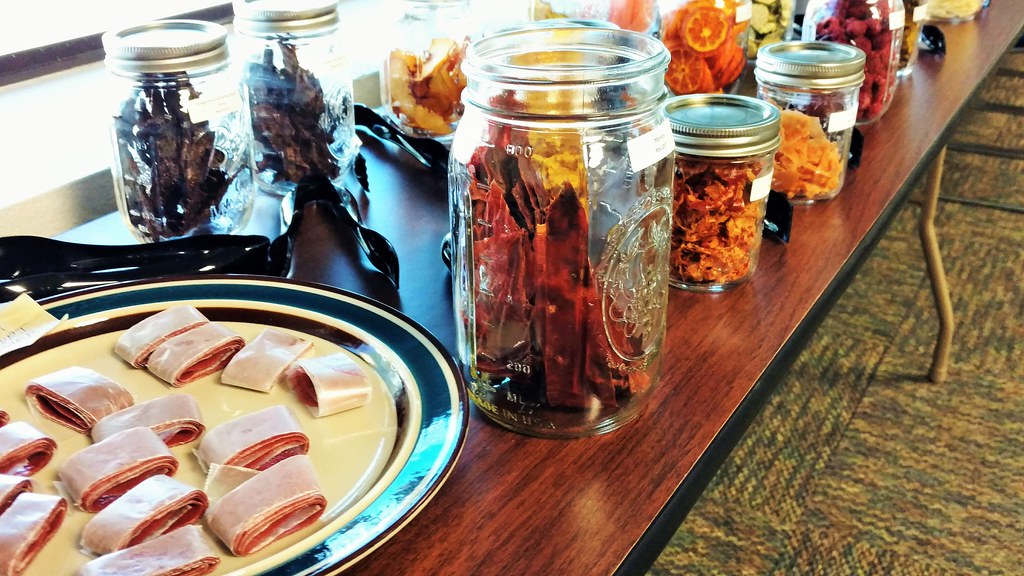
Drying is humanity's oldest preservation method – and it's currently making a comeback. No wonder: dried food needs no power for storage, takes up almost no space, and concentrates flavor and nutrients. Here you'll learn which method suits you and how to avoid typical beginner mistakes.
Why Drying Works
Drying removes water from food – and without water, bacteria, yeasts, and mold can't do their work. The goal is a residual moisture content of about 10–20% for fruit and under 10% for vegetables and herbs. Three factors are decisive here: low temperature, air movement, and time.
Method 1: The Oven
The entry point with no new purchase needed – almost any oven can dry food:
- Temperature: 50–70 °C, ideally with fan-assisted (convection) heat
- Important: Leave the oven door slightly ajar (wedge a wooden spoon in it) so moisture can escape – otherwise the food steams instead of drying
- Put parchment paper on the rack, not on a baking sheet (better air circulation)
- Turn the pieces occasionally
Downside: The oven is a power hog. 8 hours of drying time can cost 5–8 kWh depending on the appliance – and the oven is tied up the whole time.
Method 2: The Food Dehydrator
If you dry food regularly, a dehydrator is hard to beat:
- Efficient: Usually 300–600 watts instead of 2000+ for an oven – the same 8 hours cost only a fraction as much
- Even results: A fan and multiple trays keep conditions constant, so nothing needs turning
- Capacity: 4–10 trays at once – ideal for a big apple harvest
- Entry-level models start at about €40–60, good ones with temperature control from around €100
What to look for when buying: adjustable temperature (35–70 °C), rear-mounted fan rather than bottom-mounted (more even drying), BPA-free trays.
Method 3: Air Drying
The zero-energy option – but it only works for certain foods and in dry, warm weather:
- Suitable: herbs (hung upside down in bunches), chilies (strung up), mushrooms in slices
- Not suitable: high-water-content foods like fruit pieces or tomatoes – the mold risk is too high in our climate
- Choose an airy, warm, dark spot – not in direct sunlight (loses flavor)
Reference Values for Temperature and Time
| Food | Temperature | Duration (dehydrator) |
|---|---|---|
| Herbs | 35–40 °C | 2–4 hrs. |
| Mushrooms (sliced) | 40–50 °C | 4–6 hrs. |
| Apple rings | 55–60 °C | 6–8 hrs. |
| Tomatoes (halved) | 60–70 °C | 8–12 hrs. |
| Vegetable chips | 55–60 °C | 6–10 hrs. |
The Doneness Test
- Fruit is done when it bends leathery without breaking – and no more juice comes out when you cut it
- Vegetables and mushrooms should be "rattle-dry" and snap
- When in doubt: dry it an extra hour – food that's too moist will grow mold in storage
Conditioning and Storing
After drying comes a step many people skip – conditioning: loosely fill the cooled, dried food into a large jar for a week and shake it once a day. This evenly redistributes any remaining moisture. If the jar fogs up, that batch needs more drying time.
After that: store airtight, dark, and cool – screw-top jars or storage containers in the pantry are perfect. This way, dried fruit keeps for 6–12 months, and vegetables and herbs often even longer. Don't forget to label – in the app's pantry section you can log your jars with the date right away.
Conclusion
For getting started, the oven is completely sufficient – try it with a tray of apple rings. Once the drying bug bites you (and it will), a dehydrator pays off after just a few batches: more efficient, more even, and it frees up your oven while it works. And the best part: your pantry shelf gains a whole new category.